SQL 다운로드 및 설치하기#
먼저 구글에서 ‘mysql download installer’를 검색해 아래 사이트에 접속한다.
https://dev.mysql.com/downloads/mysql/
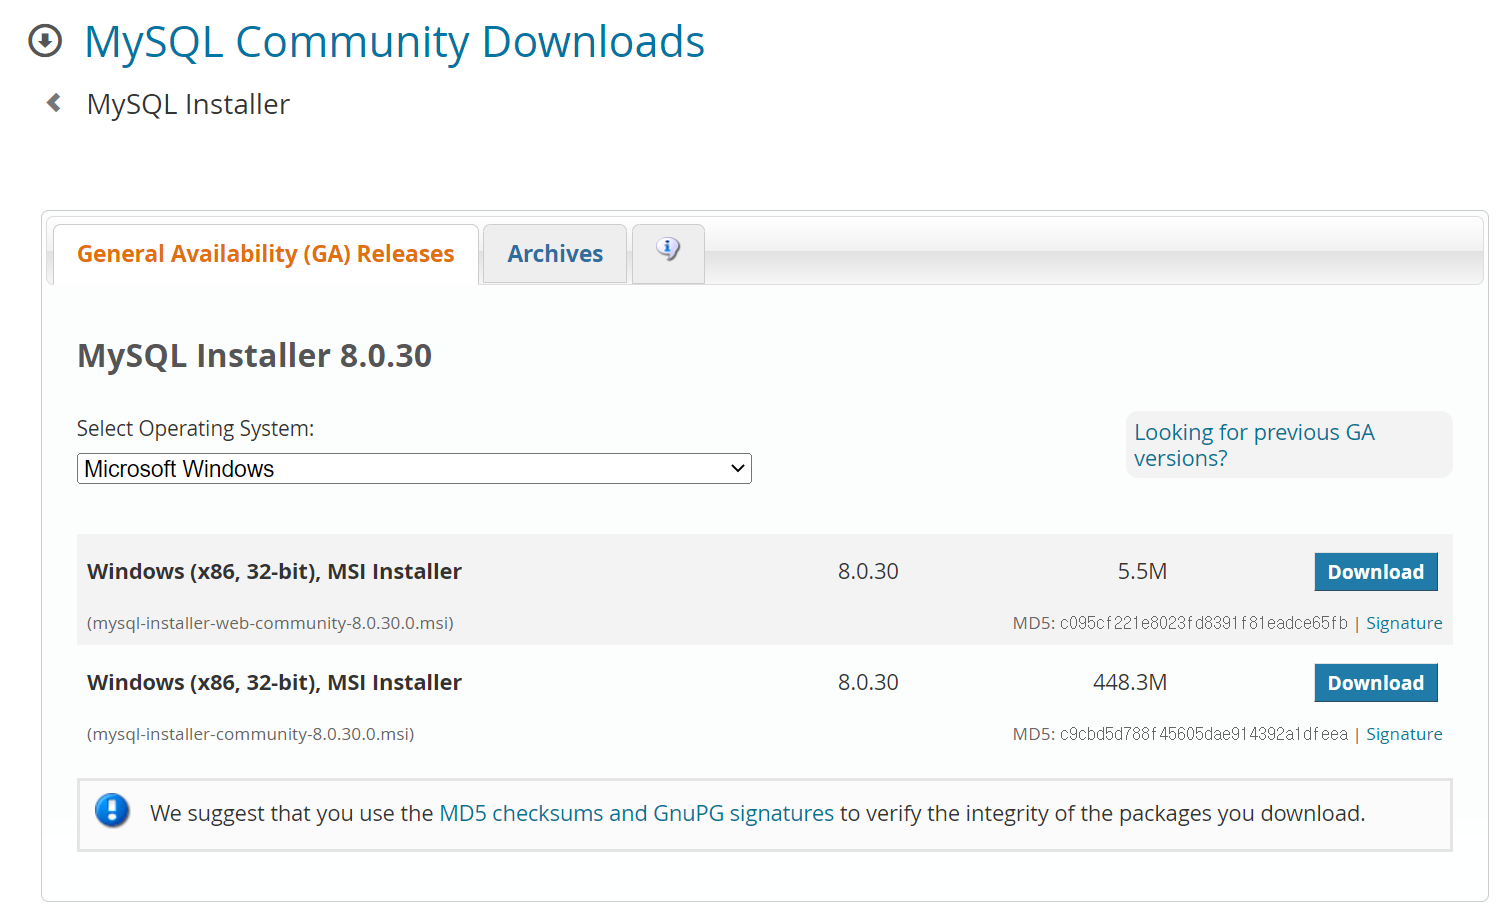
[Select Operating System] 부분에서 본인의 운영체제를 선택한 후, 용량이 큰 인스톨 파일을 다운로드 한다. 윈도우의 경우 ‘32-bit’를 설치하면 64-bit가 함께 설치된다.
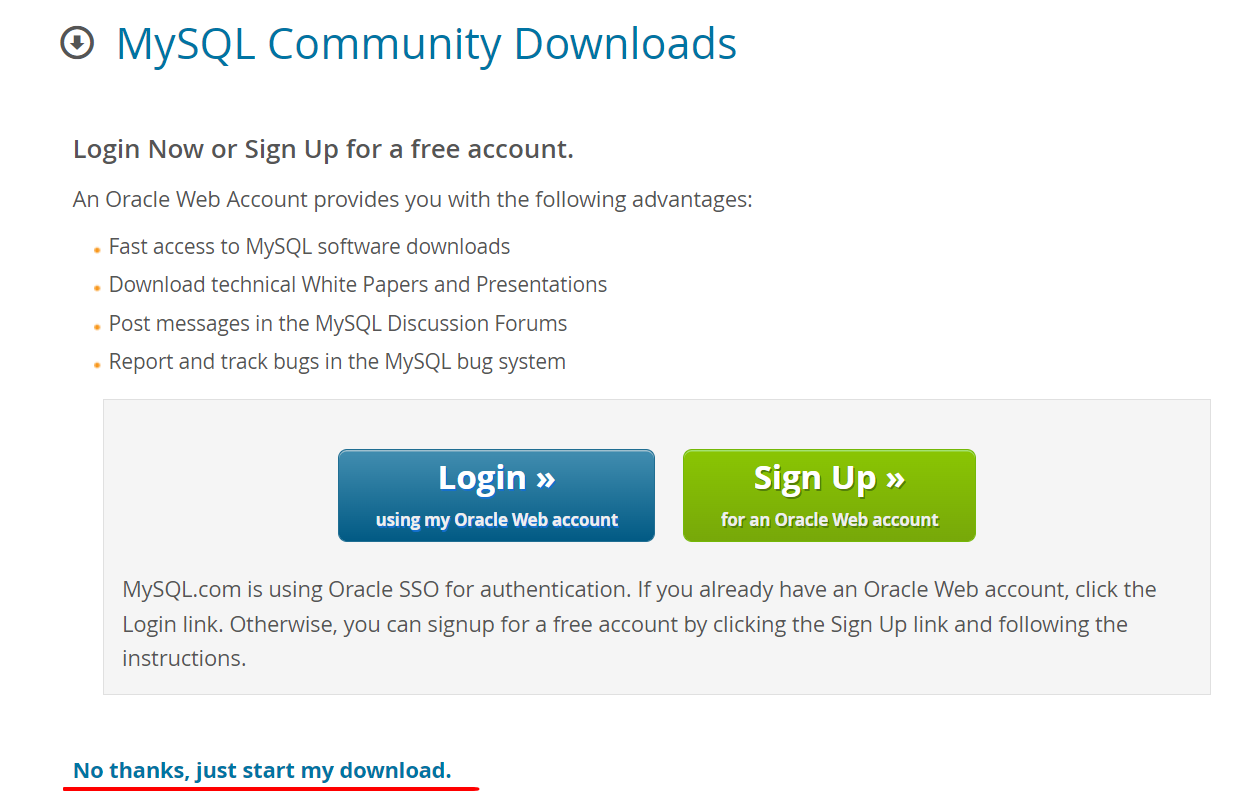
로그인을 하지 않아도 다운로드를 할 수 있으므로, 하단의 [No thanks, just start my download.] 부분을 클릭한다.
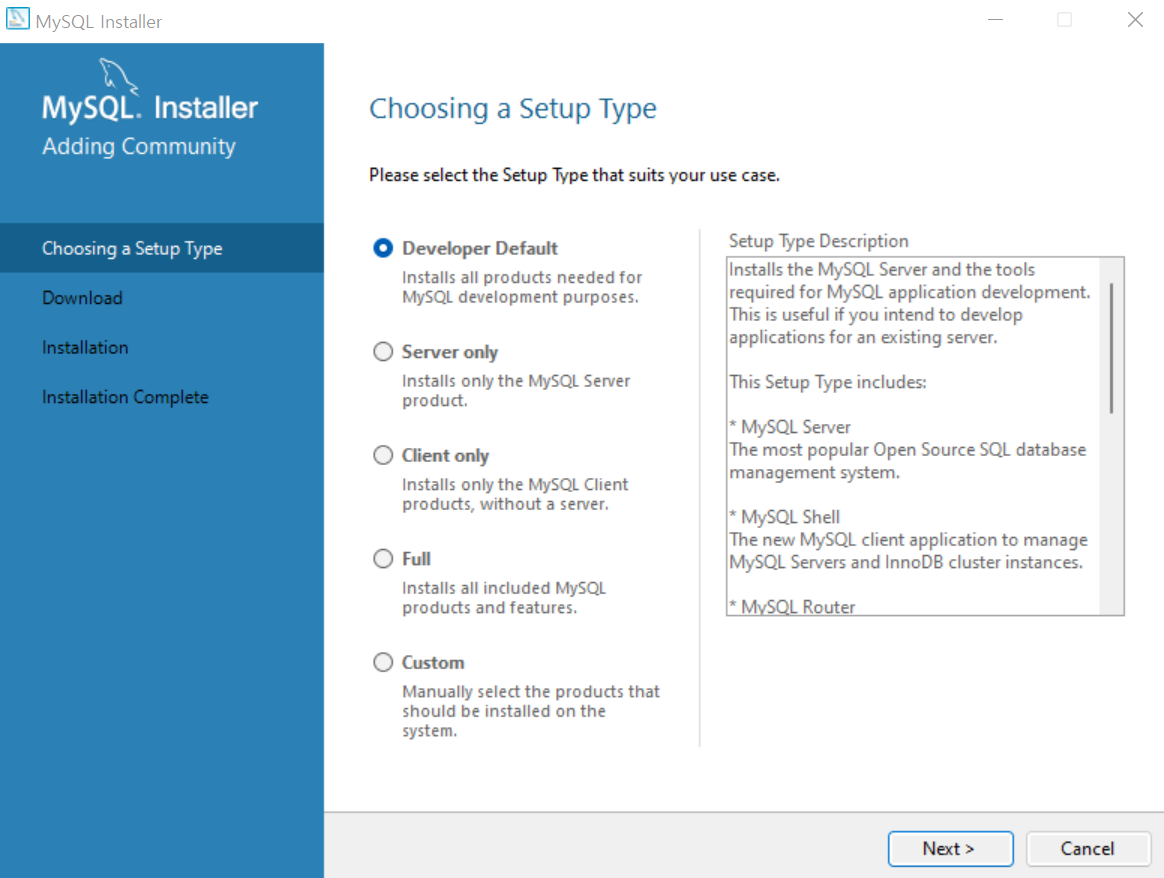
다운로드한 설치 파일을 실행해 설치를 시작한다. 가장 상단의 [Developer Default]를 선택한 후 [Next]를 클릭한다.
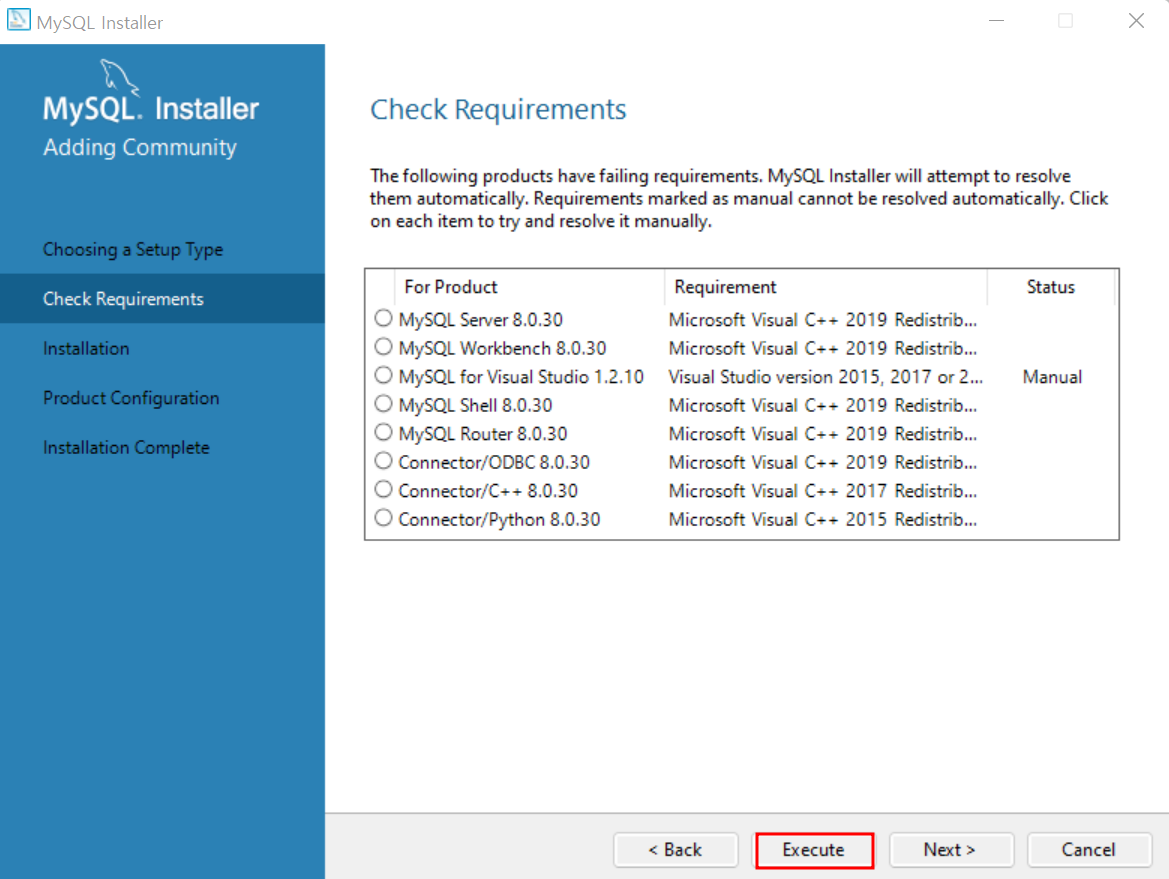
추가로 설치해야되는 항목을 보여준다. 하단의 [Execute]를 클릭하면 자동으로 설치가 된다.
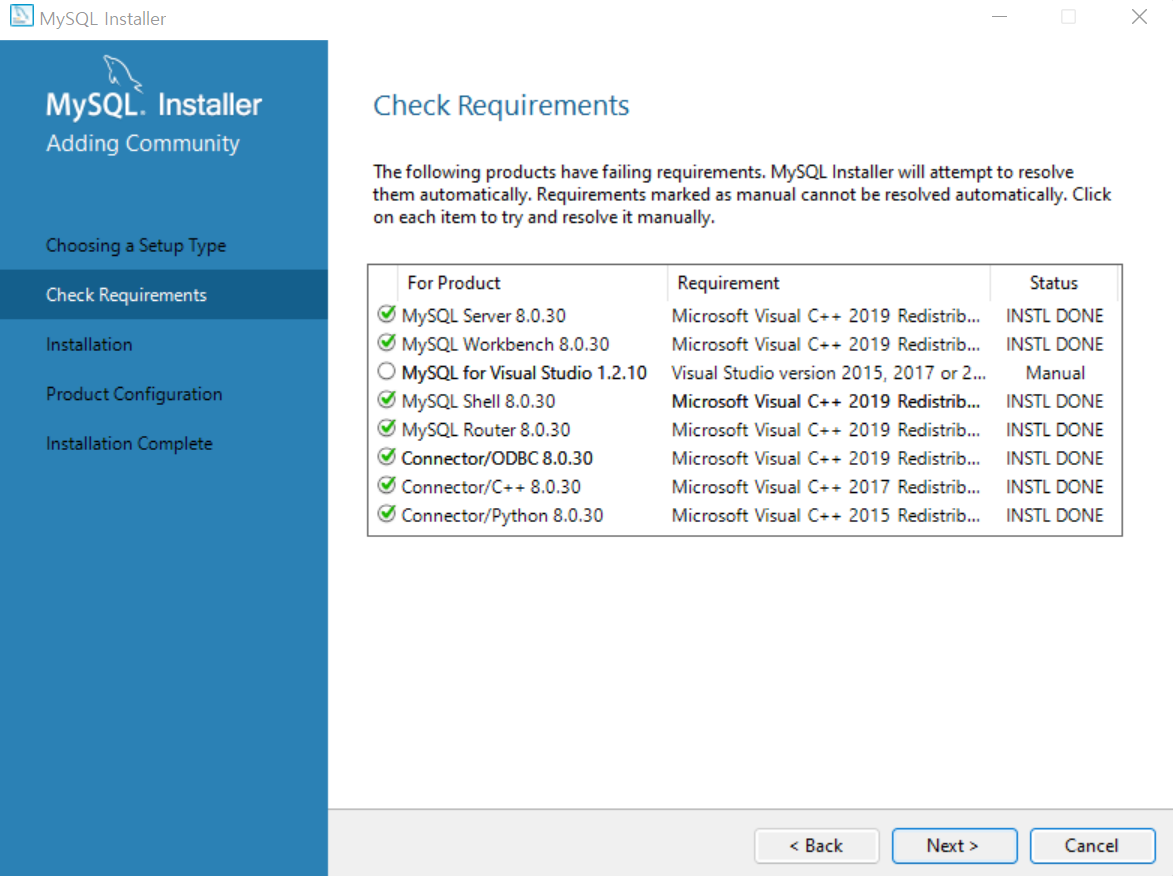

설치가 완료되면 [Next]를 클릭한다. Requirements 중 설치가 되지 않은 항목이 있다는 팝업이 뜰 경우 [Yes]를 클릭한다.
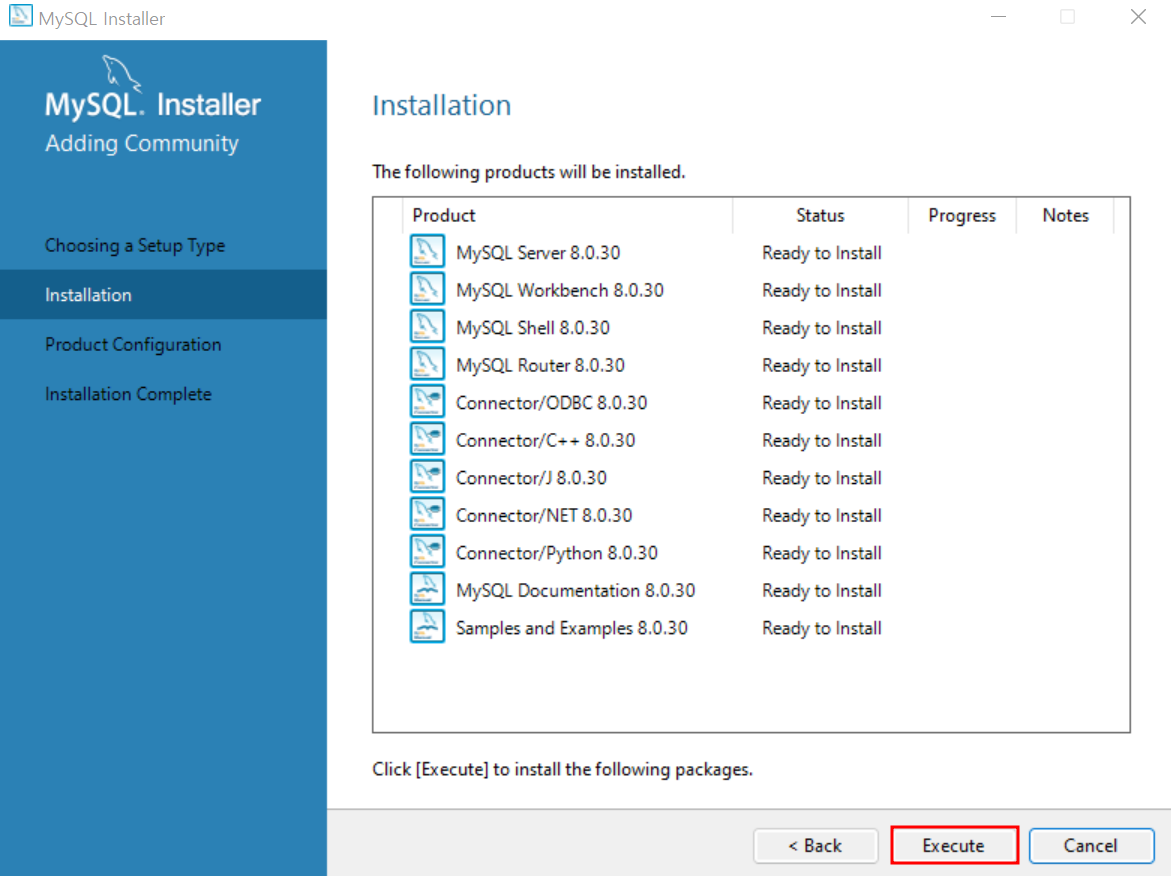
설치할 항목들을 보여주며, [Execute]를 클릭한다.
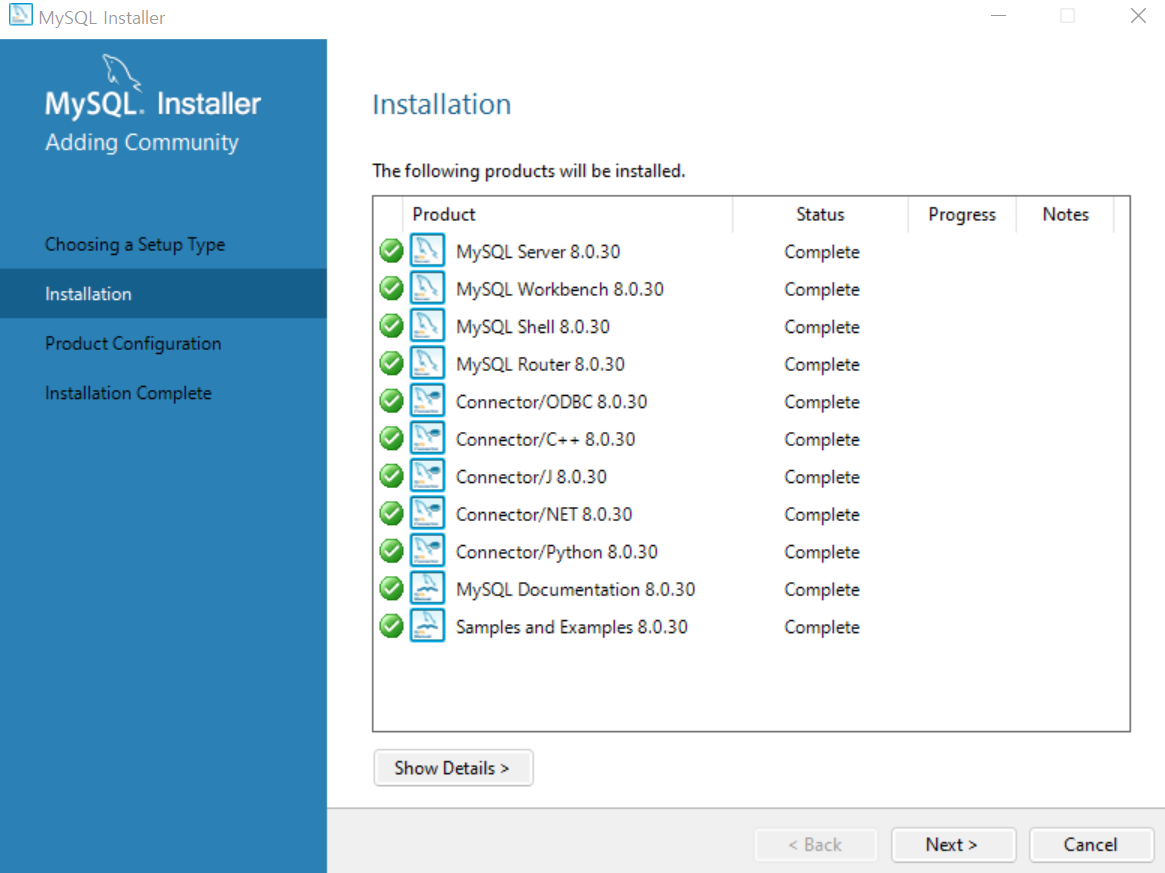
설치가 완료되면 [Next]를 클릭한다.
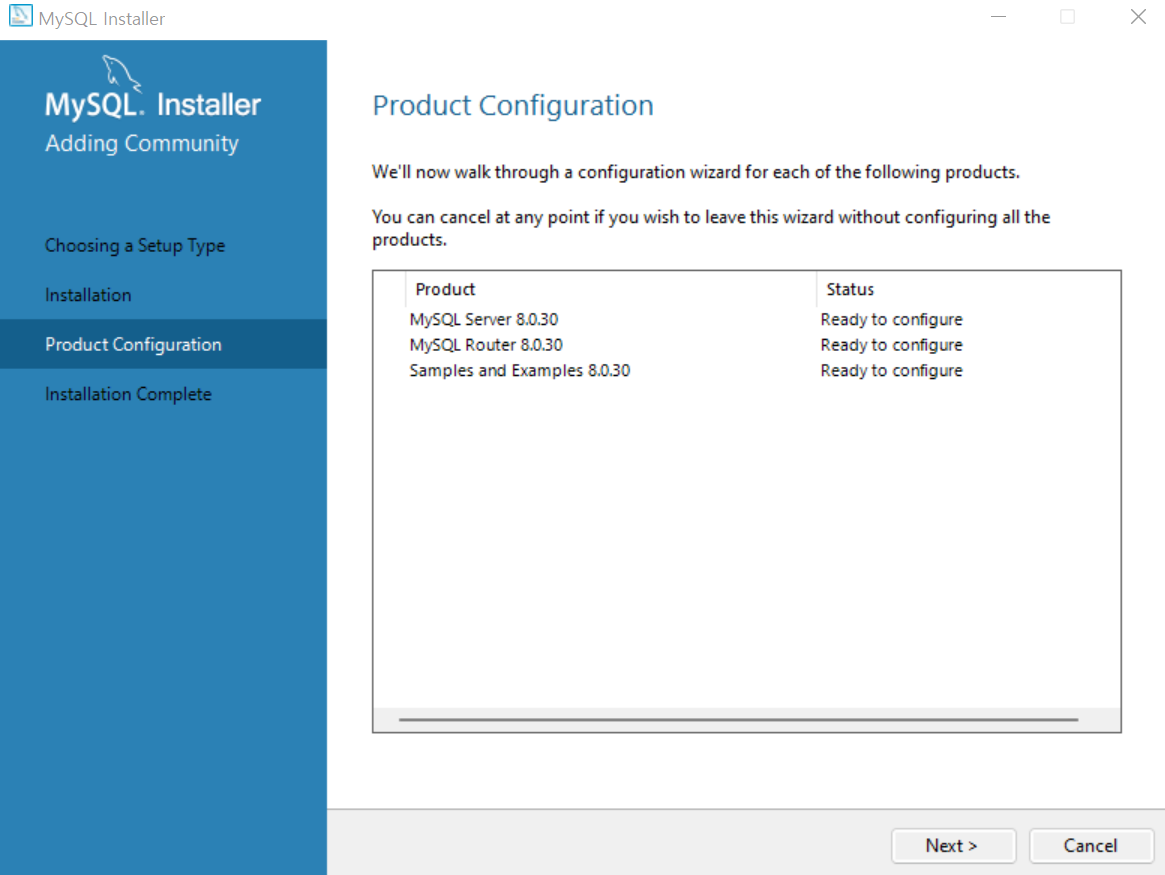
Product Configuration 역시 [Next]를 클릭한다.
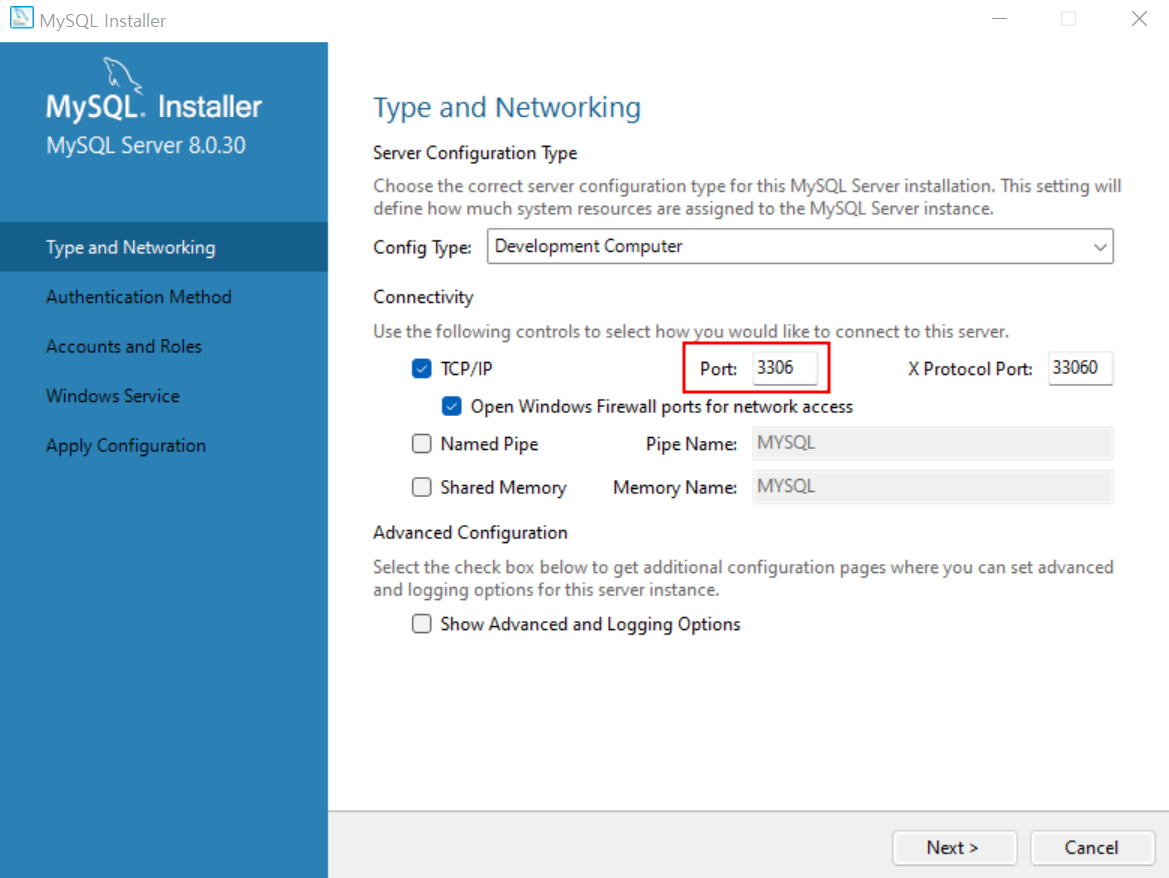
MySQL은 일반적으로 포트번호를 3306으로 지정한다. 이를 확인한 후 [Next]를 클릭한다.

상단의 [Use Strong Password Encryption for Authentication (RECOMMENDED)] 부분을 선택한 후 [Next]를 클릭한다.

비밀번호를 설정하는 부분이며, 본 책에서는 간단하게 ‘1234’로 지정하였다. 입력이 끝났으면 [Next]를 클릭한다.
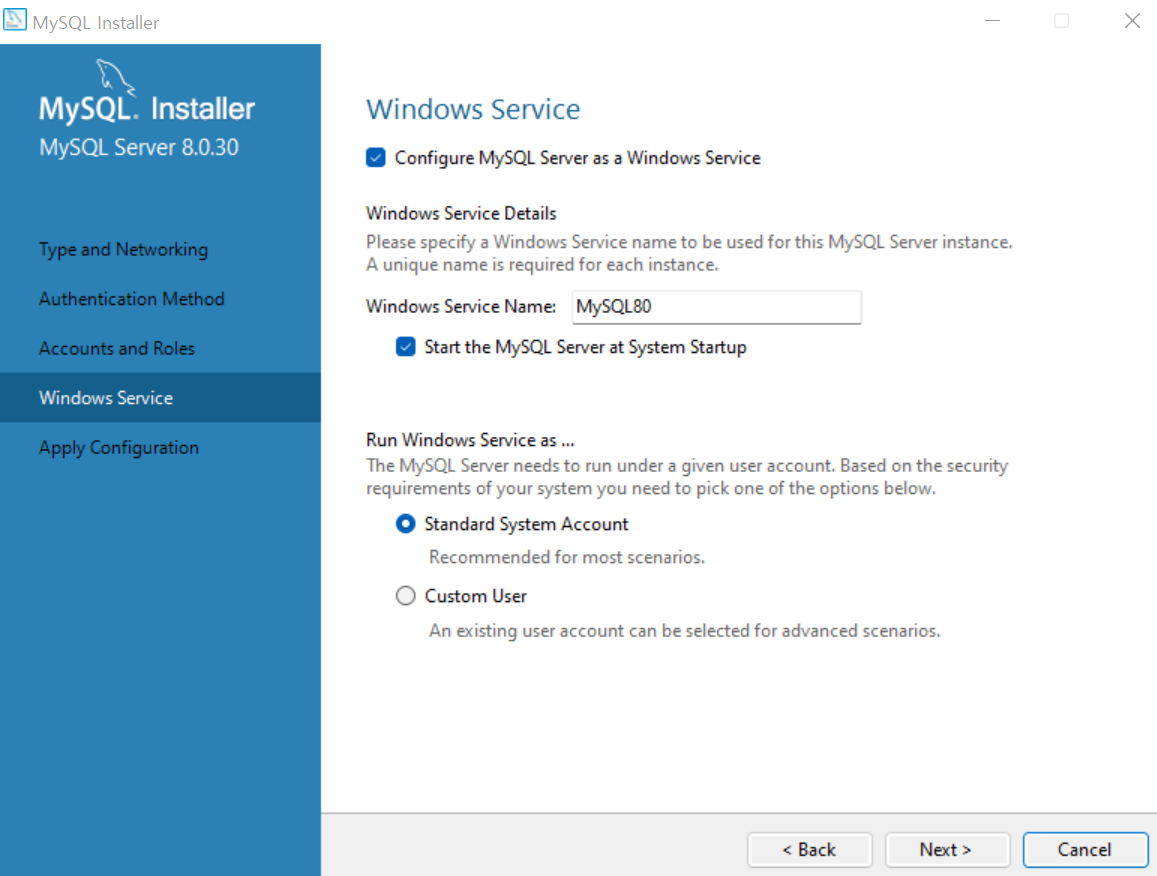
기본 설정을 그대로 유지한 후 [Next]를 클릭한다.
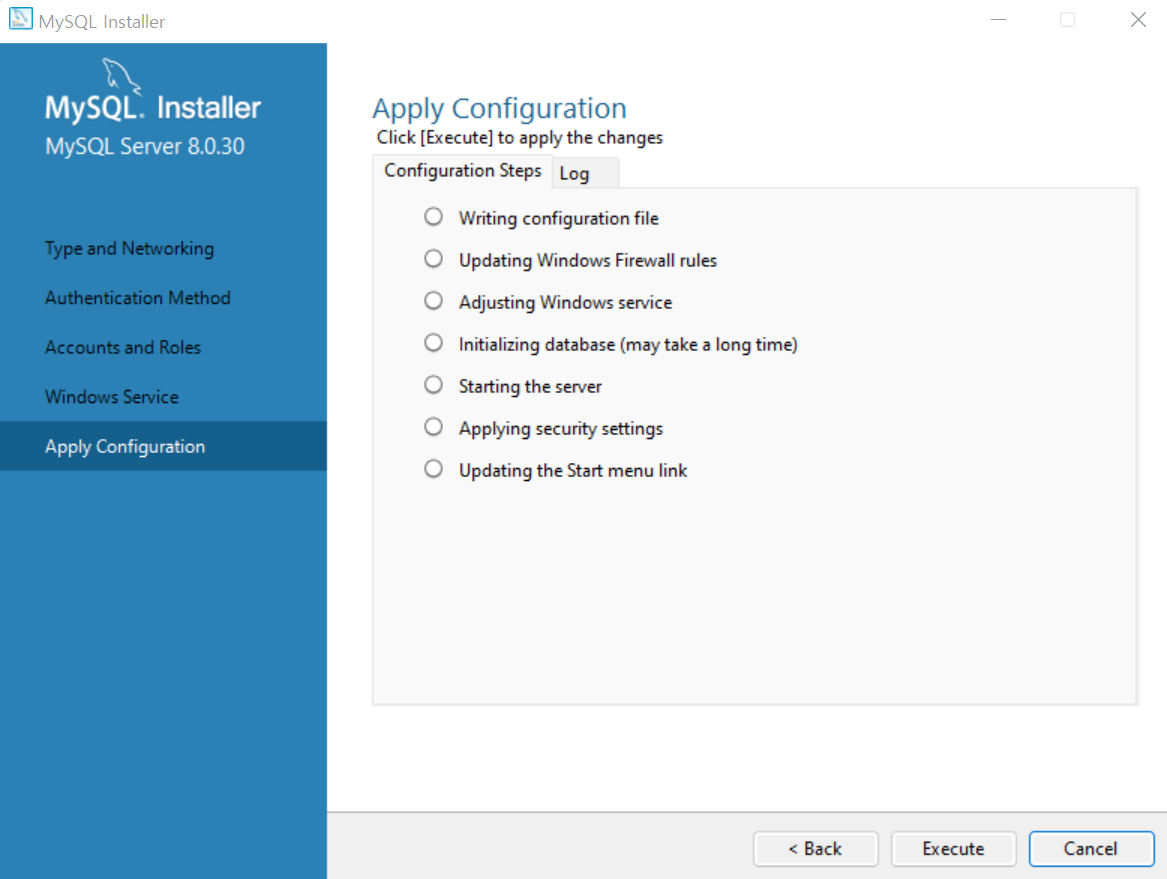
[Execute]를 클릭한다.
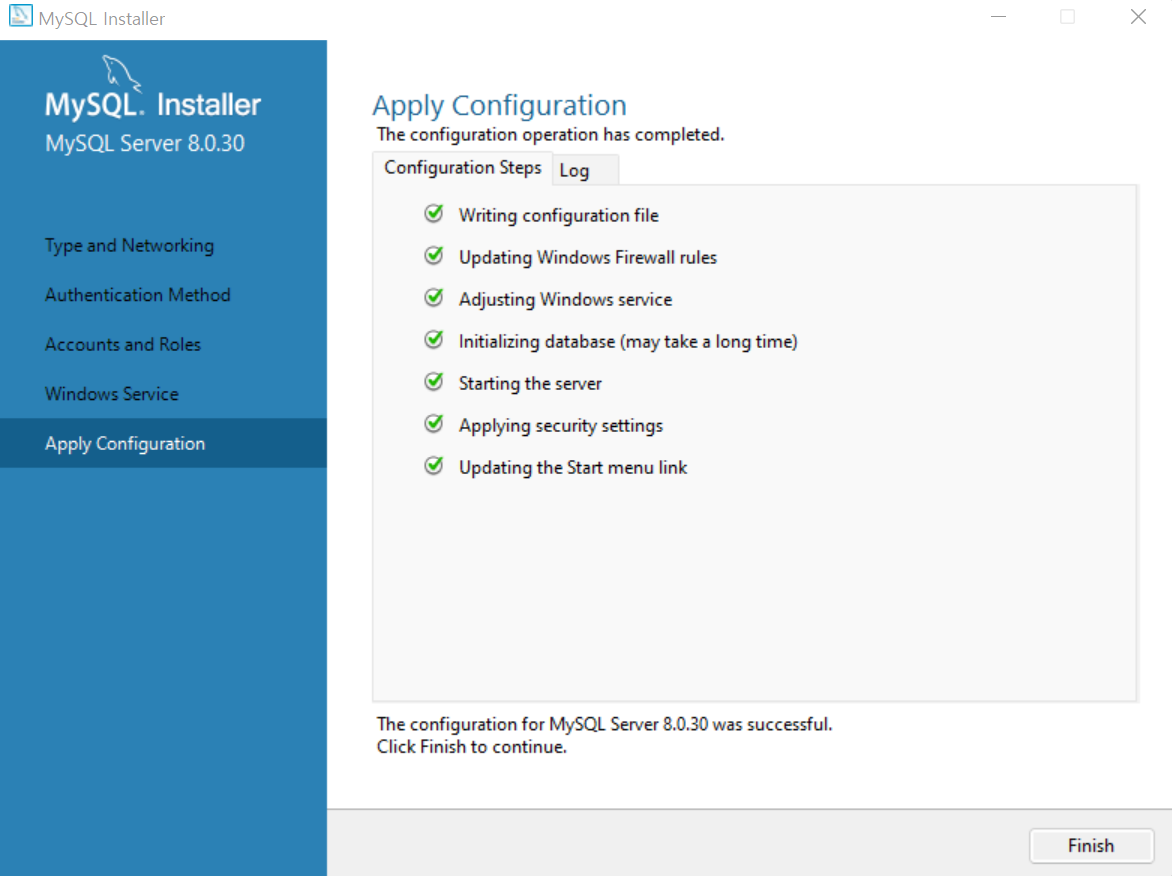
작업이 완료되면 [Finish]를 클릭한다.
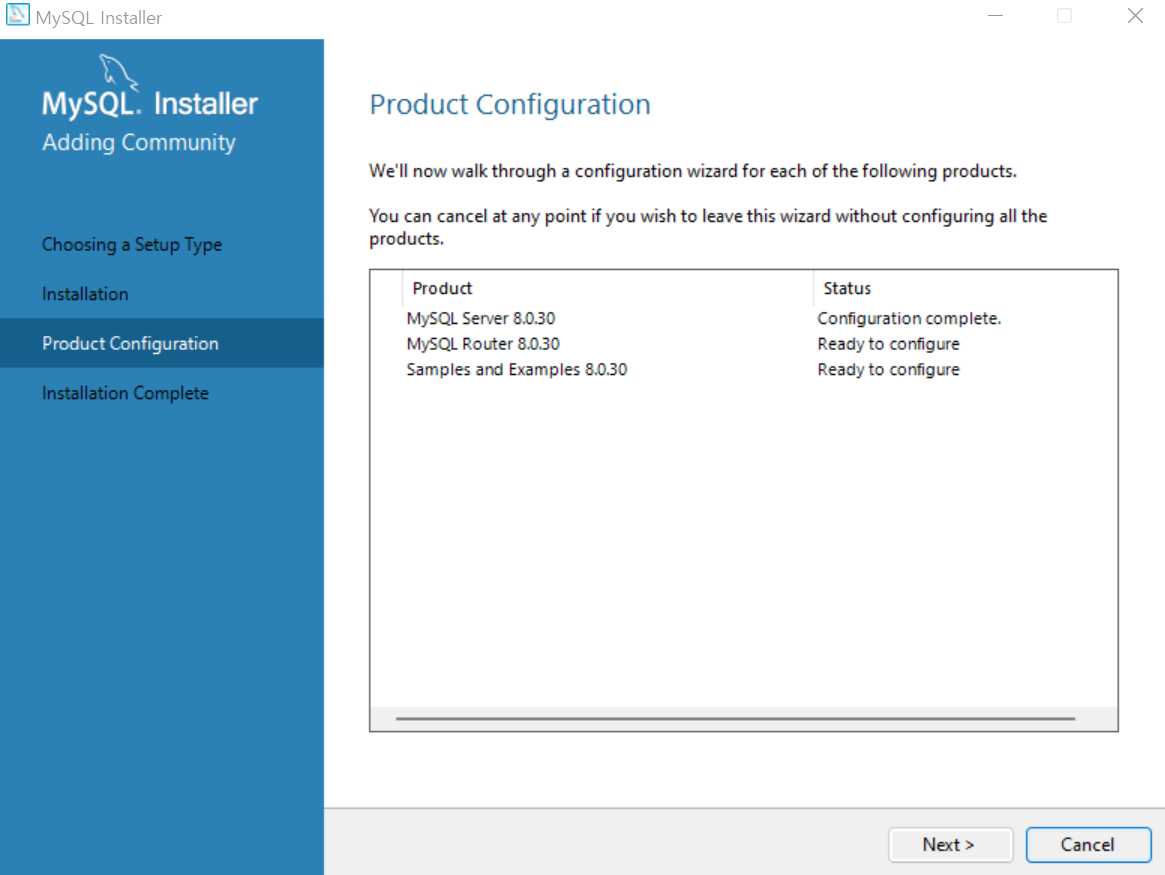
[Next]를 클릭한다.
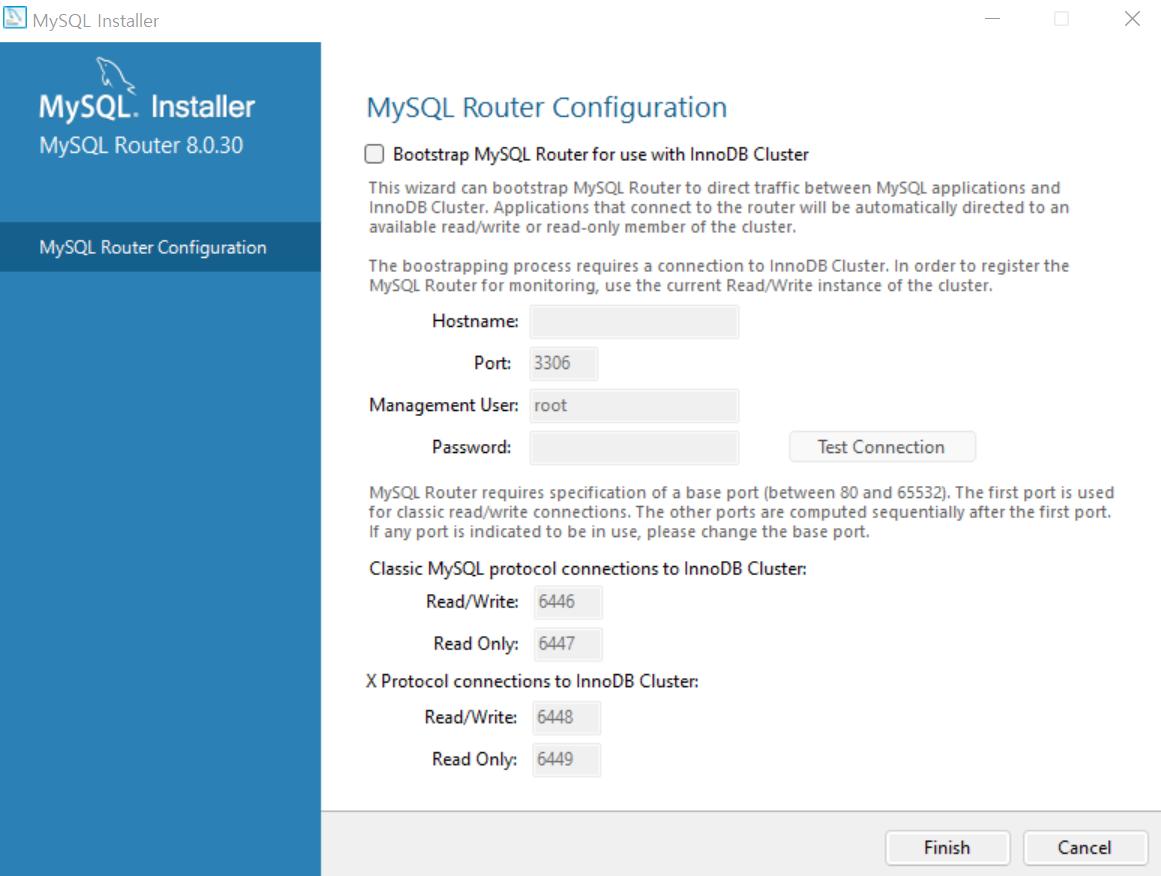
[Finish]를 클릭한다.
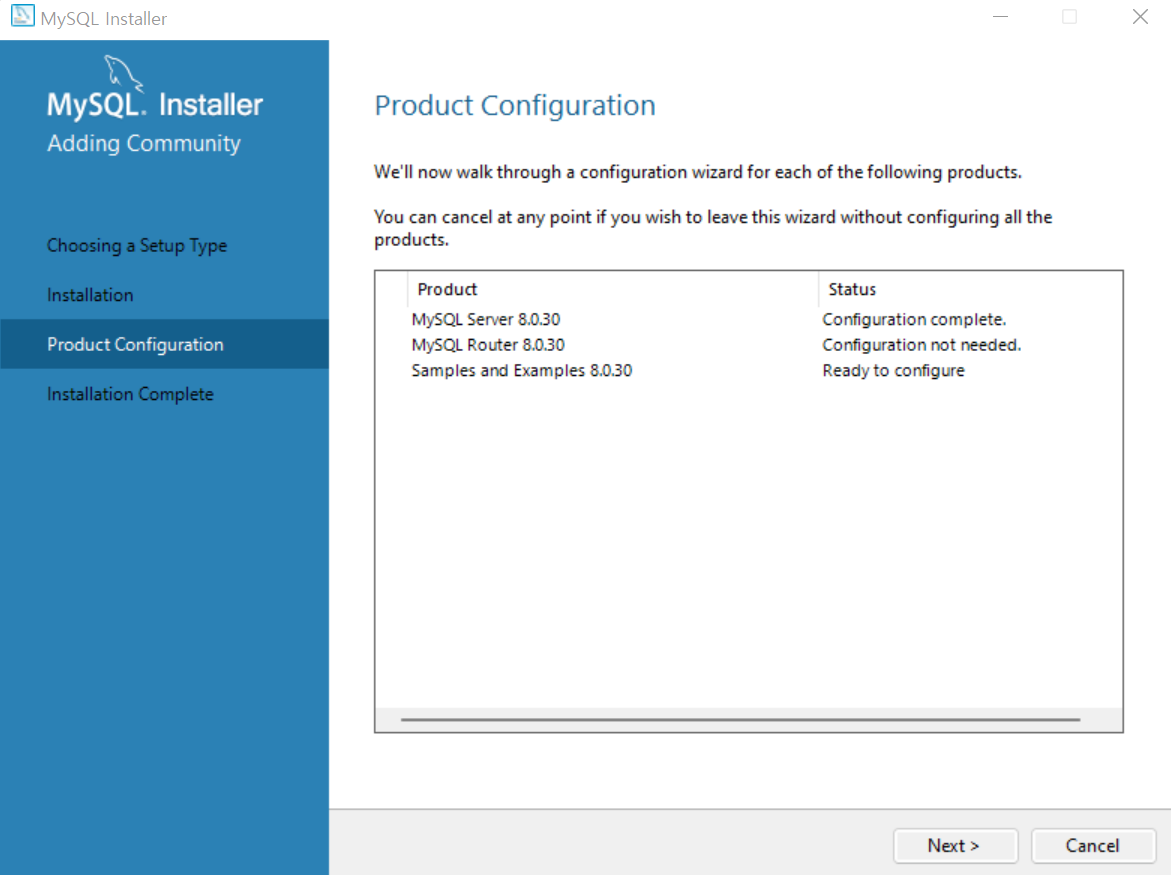
[Next]를 클릭한다.
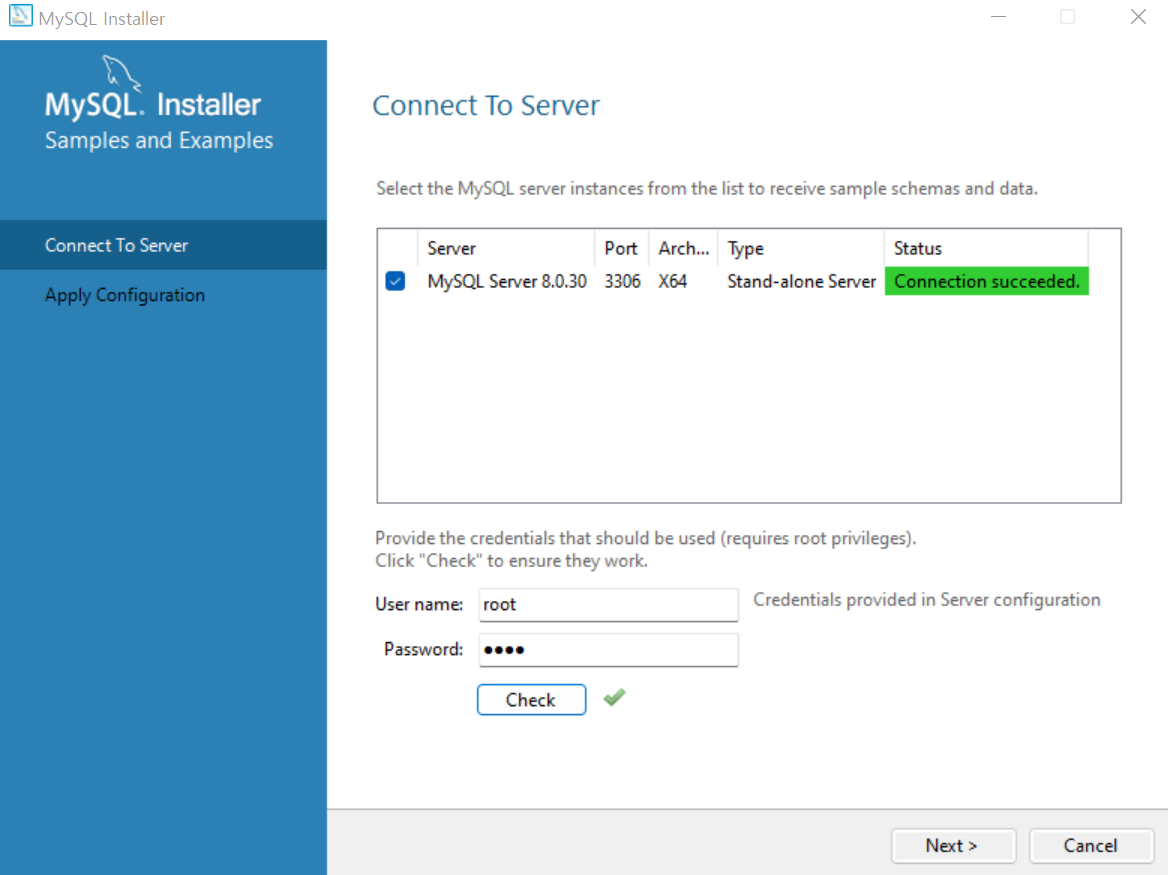
MySQL에 서버에 접속하는 과정이다. Password 부분에 앞서 설정한 비밀번호(예: 1234)를 입력한 후 [Check]를 클릭하면 Status 부분에 [Connection succeeded]라는 문구가 뜨며 접속이 된다. 그 후 [Next]를 클릭한다.
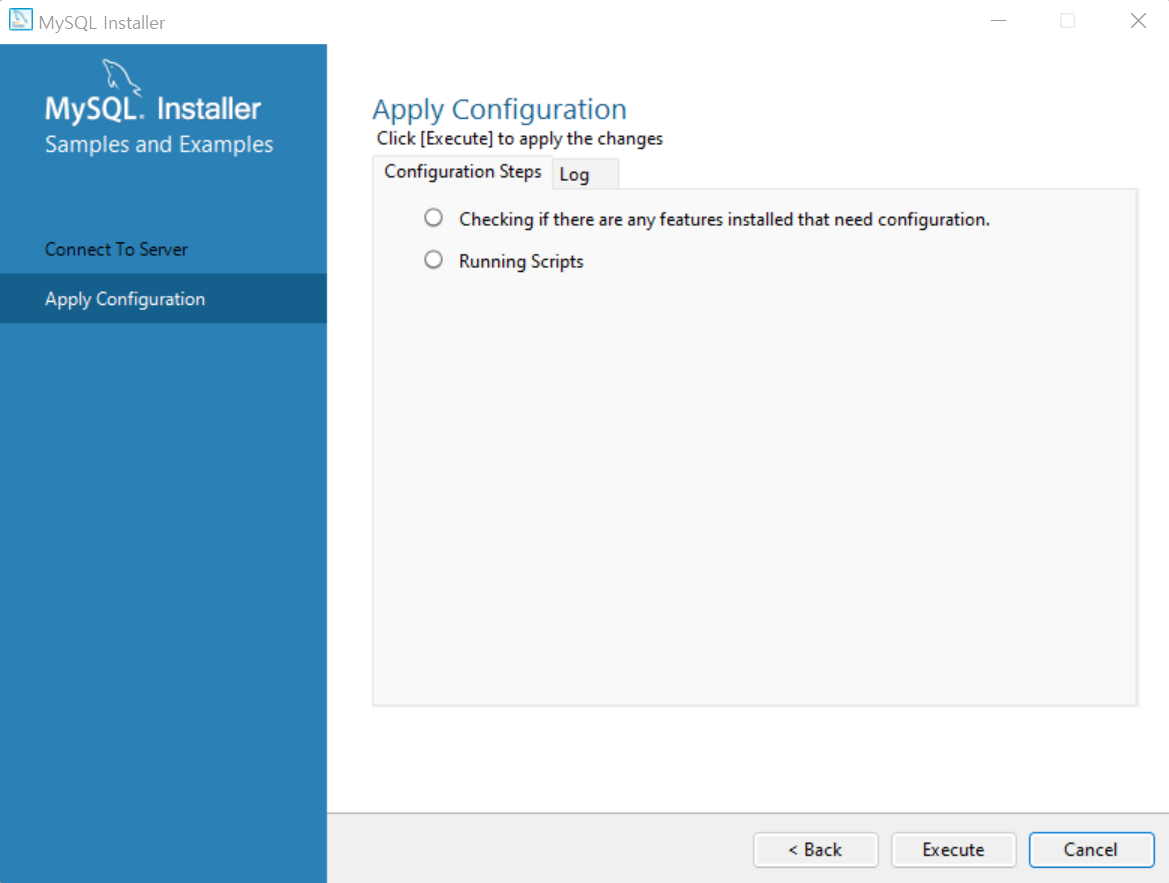
[Execute]를 클릭한다.
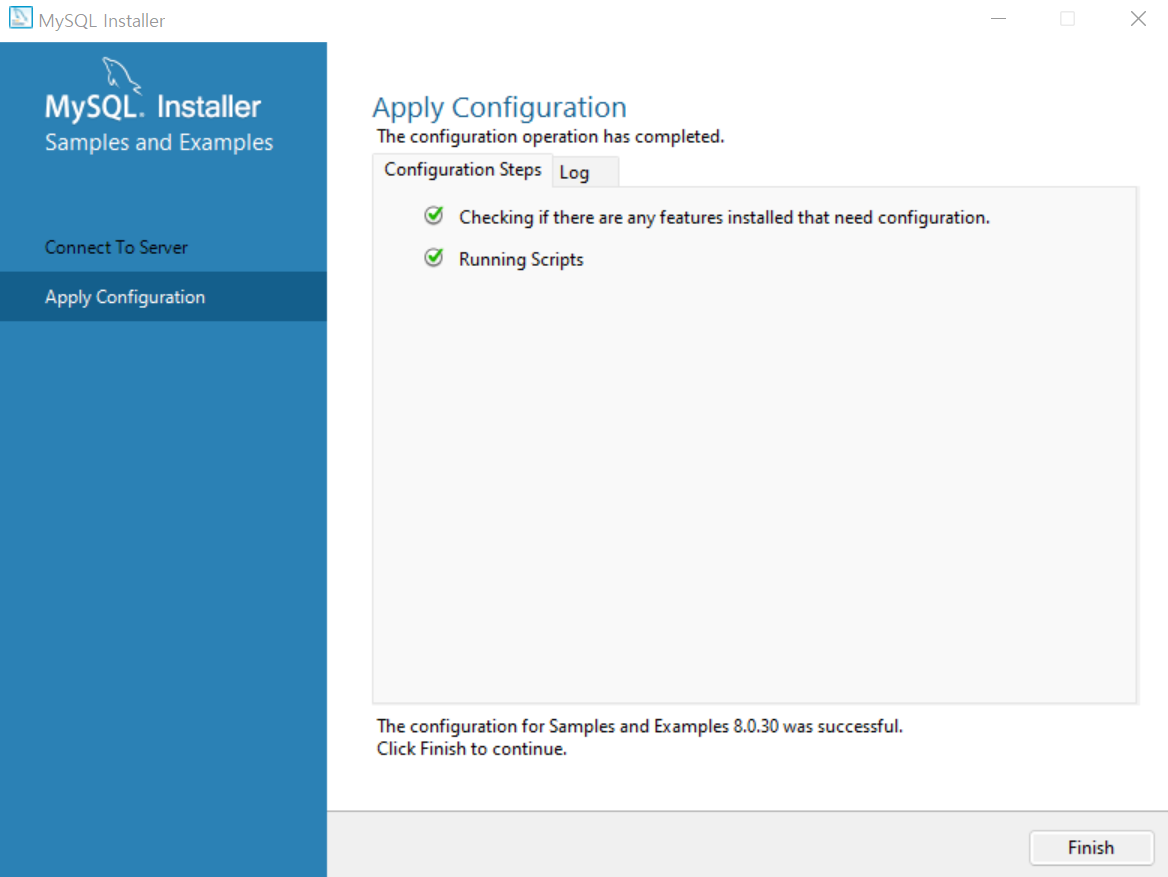
작업이 완료되면 [Finish]를 클릭한다.
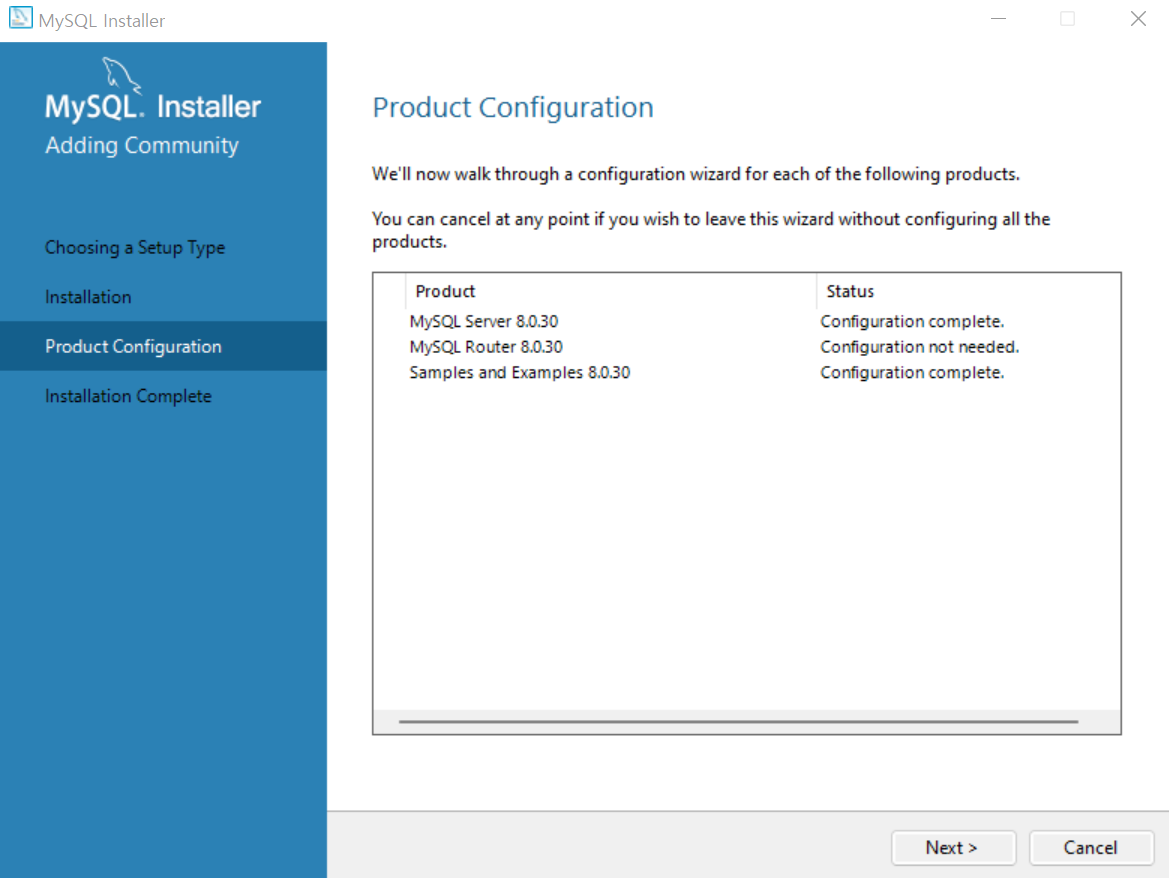
[Next]를 클릭한다.
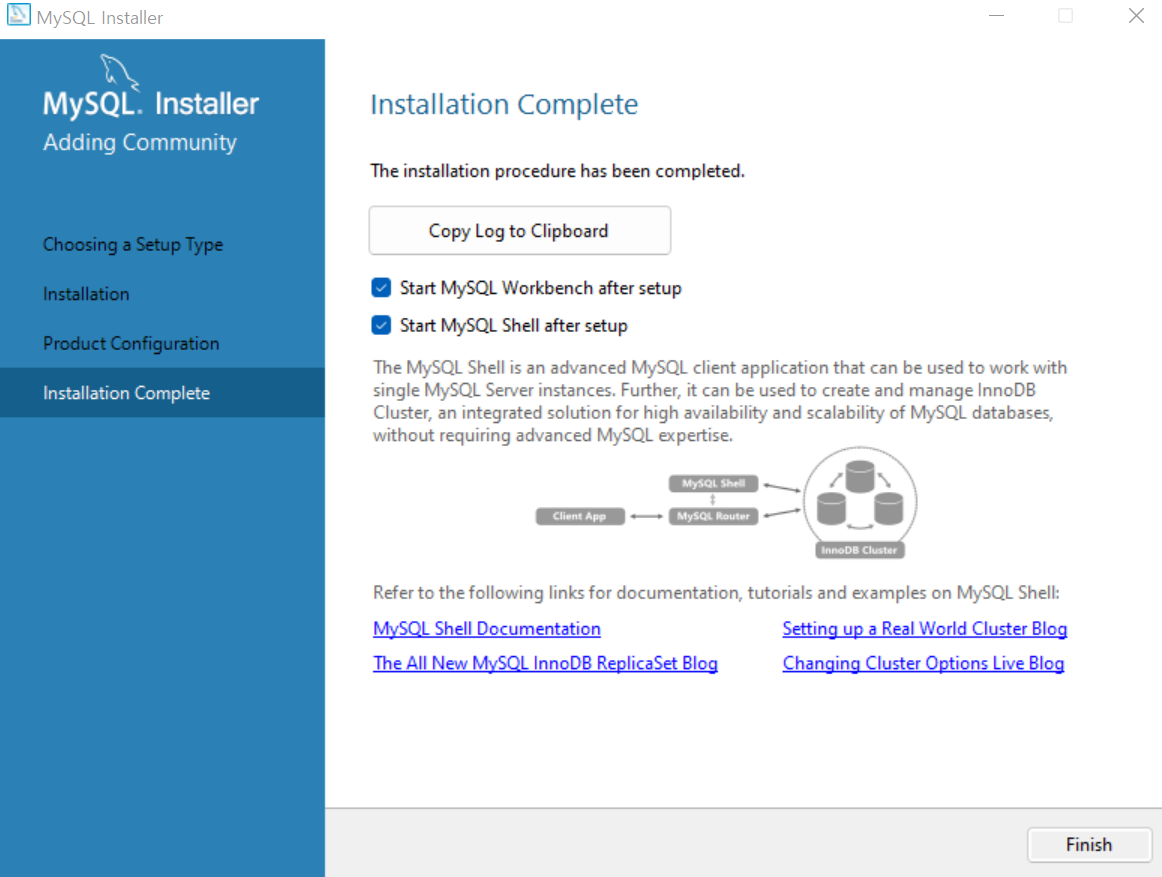
[Finish]를 클릭해 모든 설치를 마감한다.
설치가 마감되면 MySQL Shell 및 MySQL Workbench가 열린다. MySQL Workbench를 이용하면 매우 쉽게 DB 관리 및 SQL 쿼리를 작성할 수 있다.
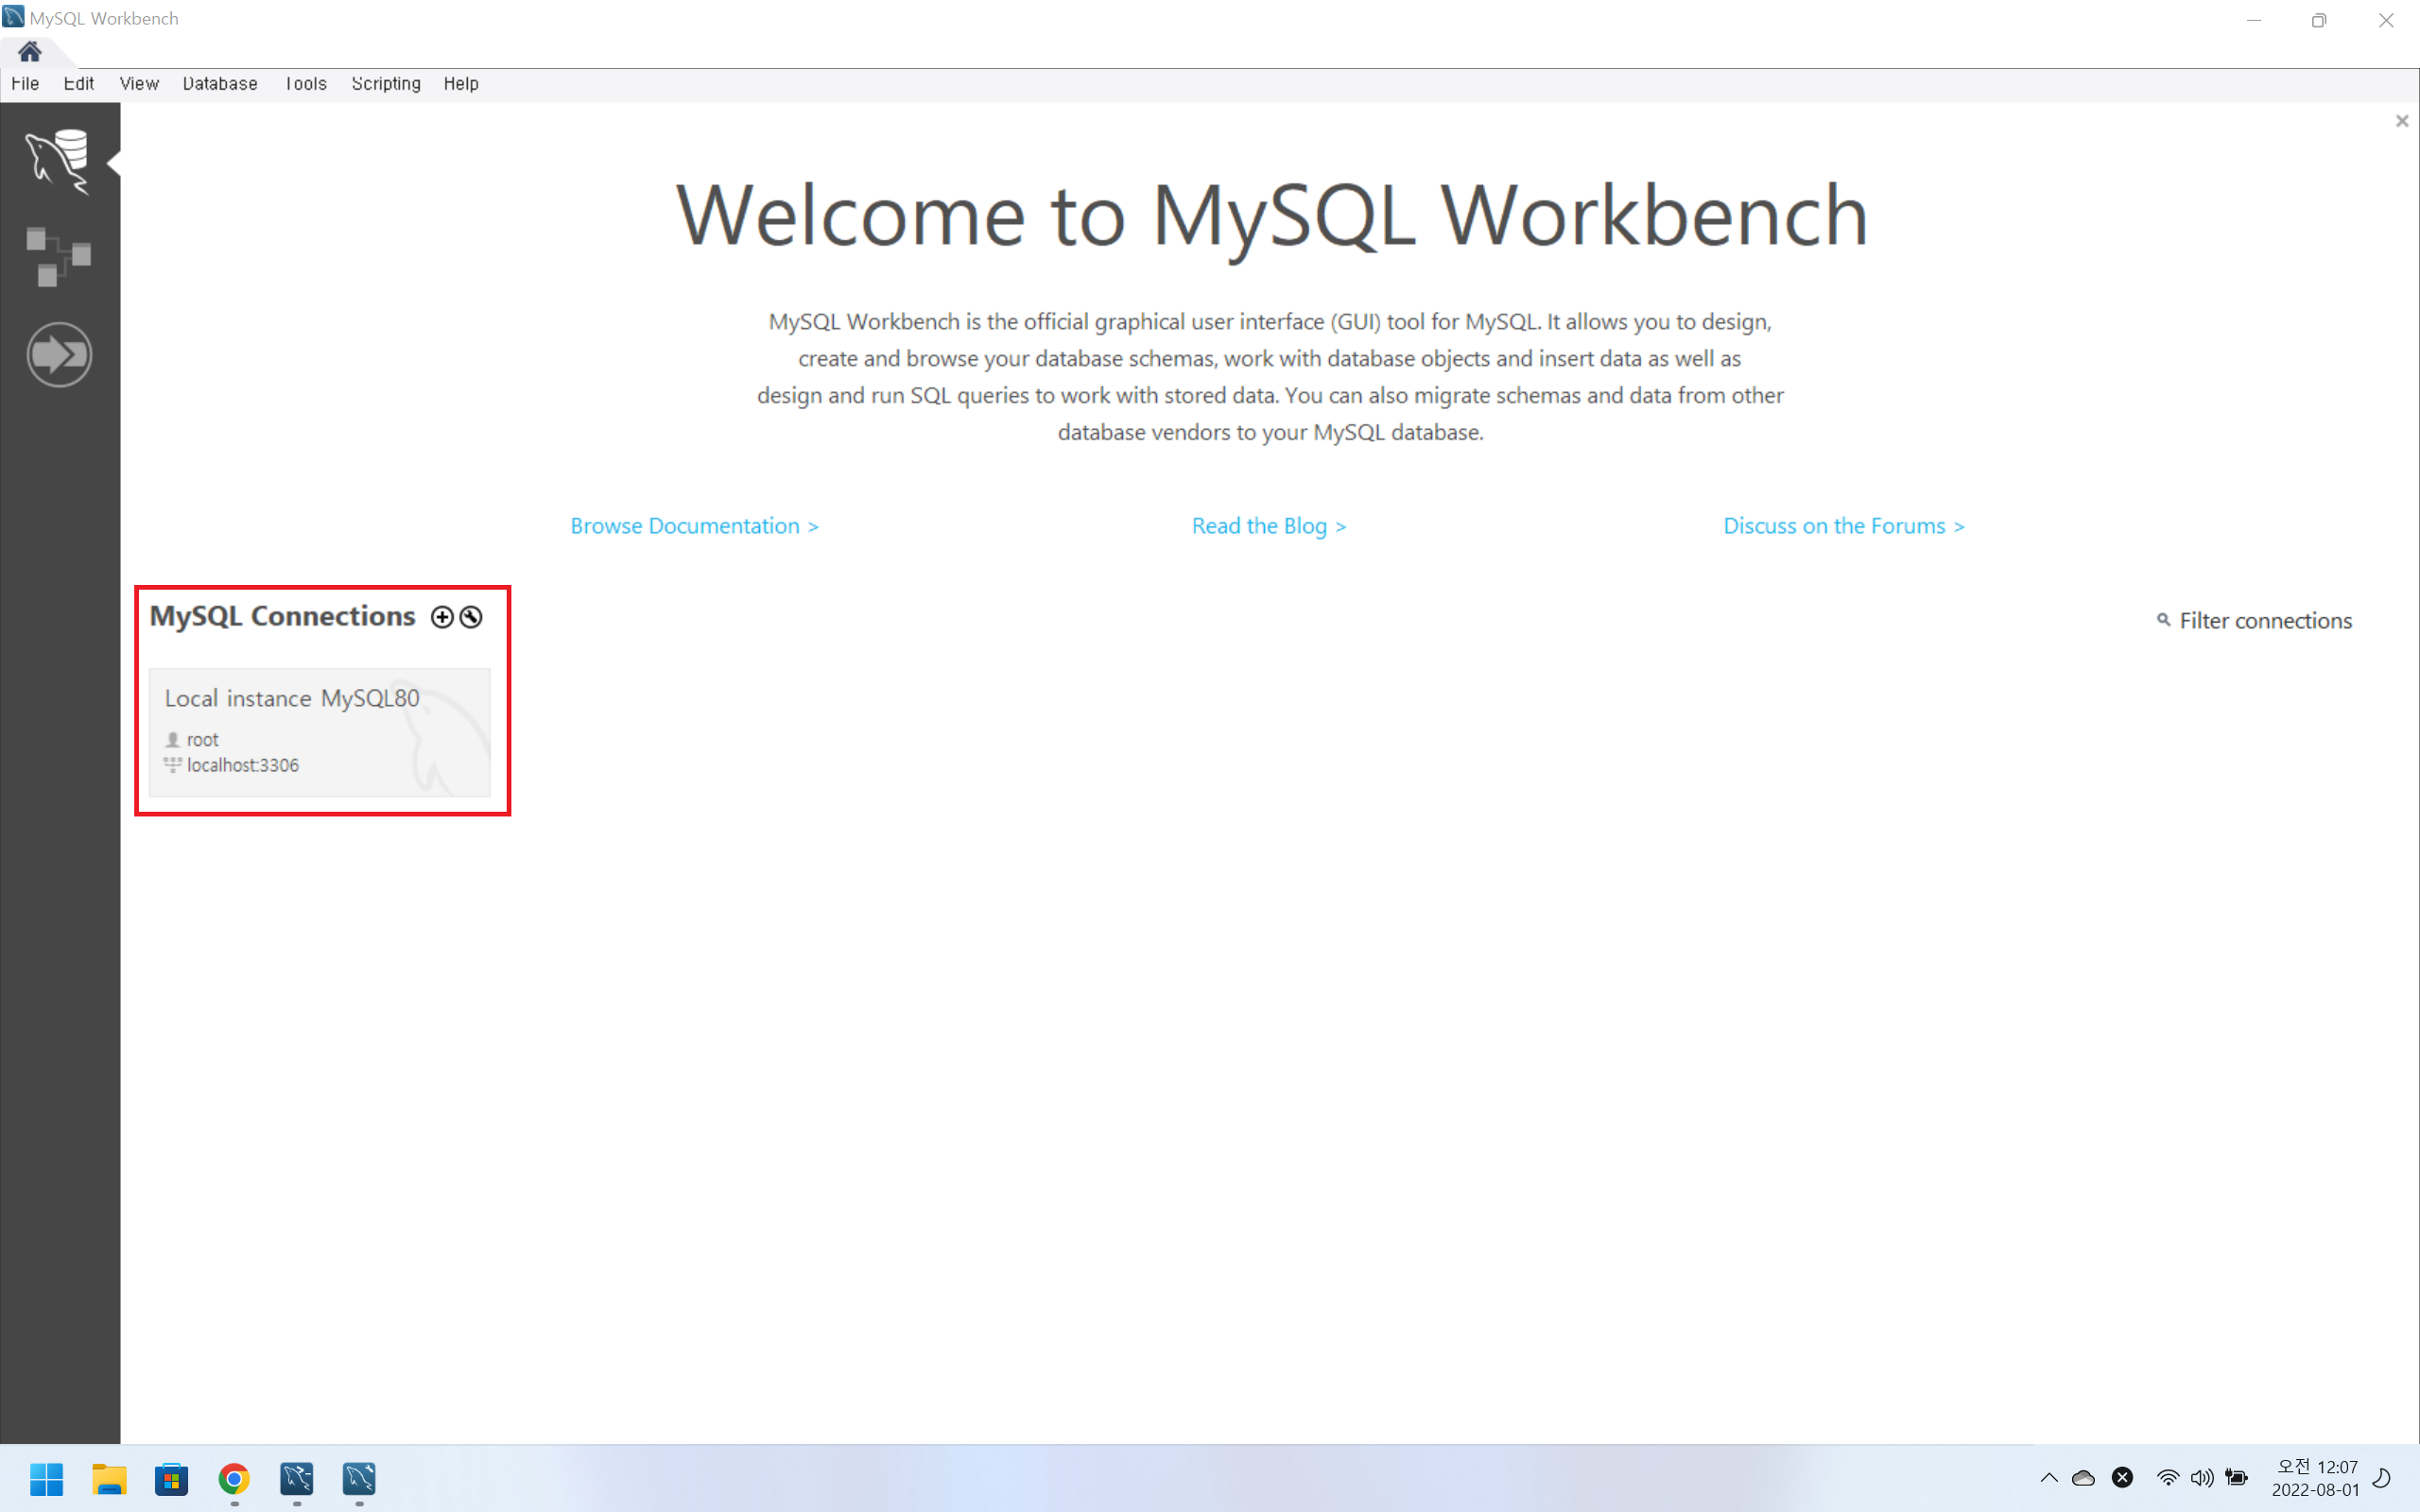
MySQL Connections의 [Local instance MySQL80] 부분을 클릭한다.
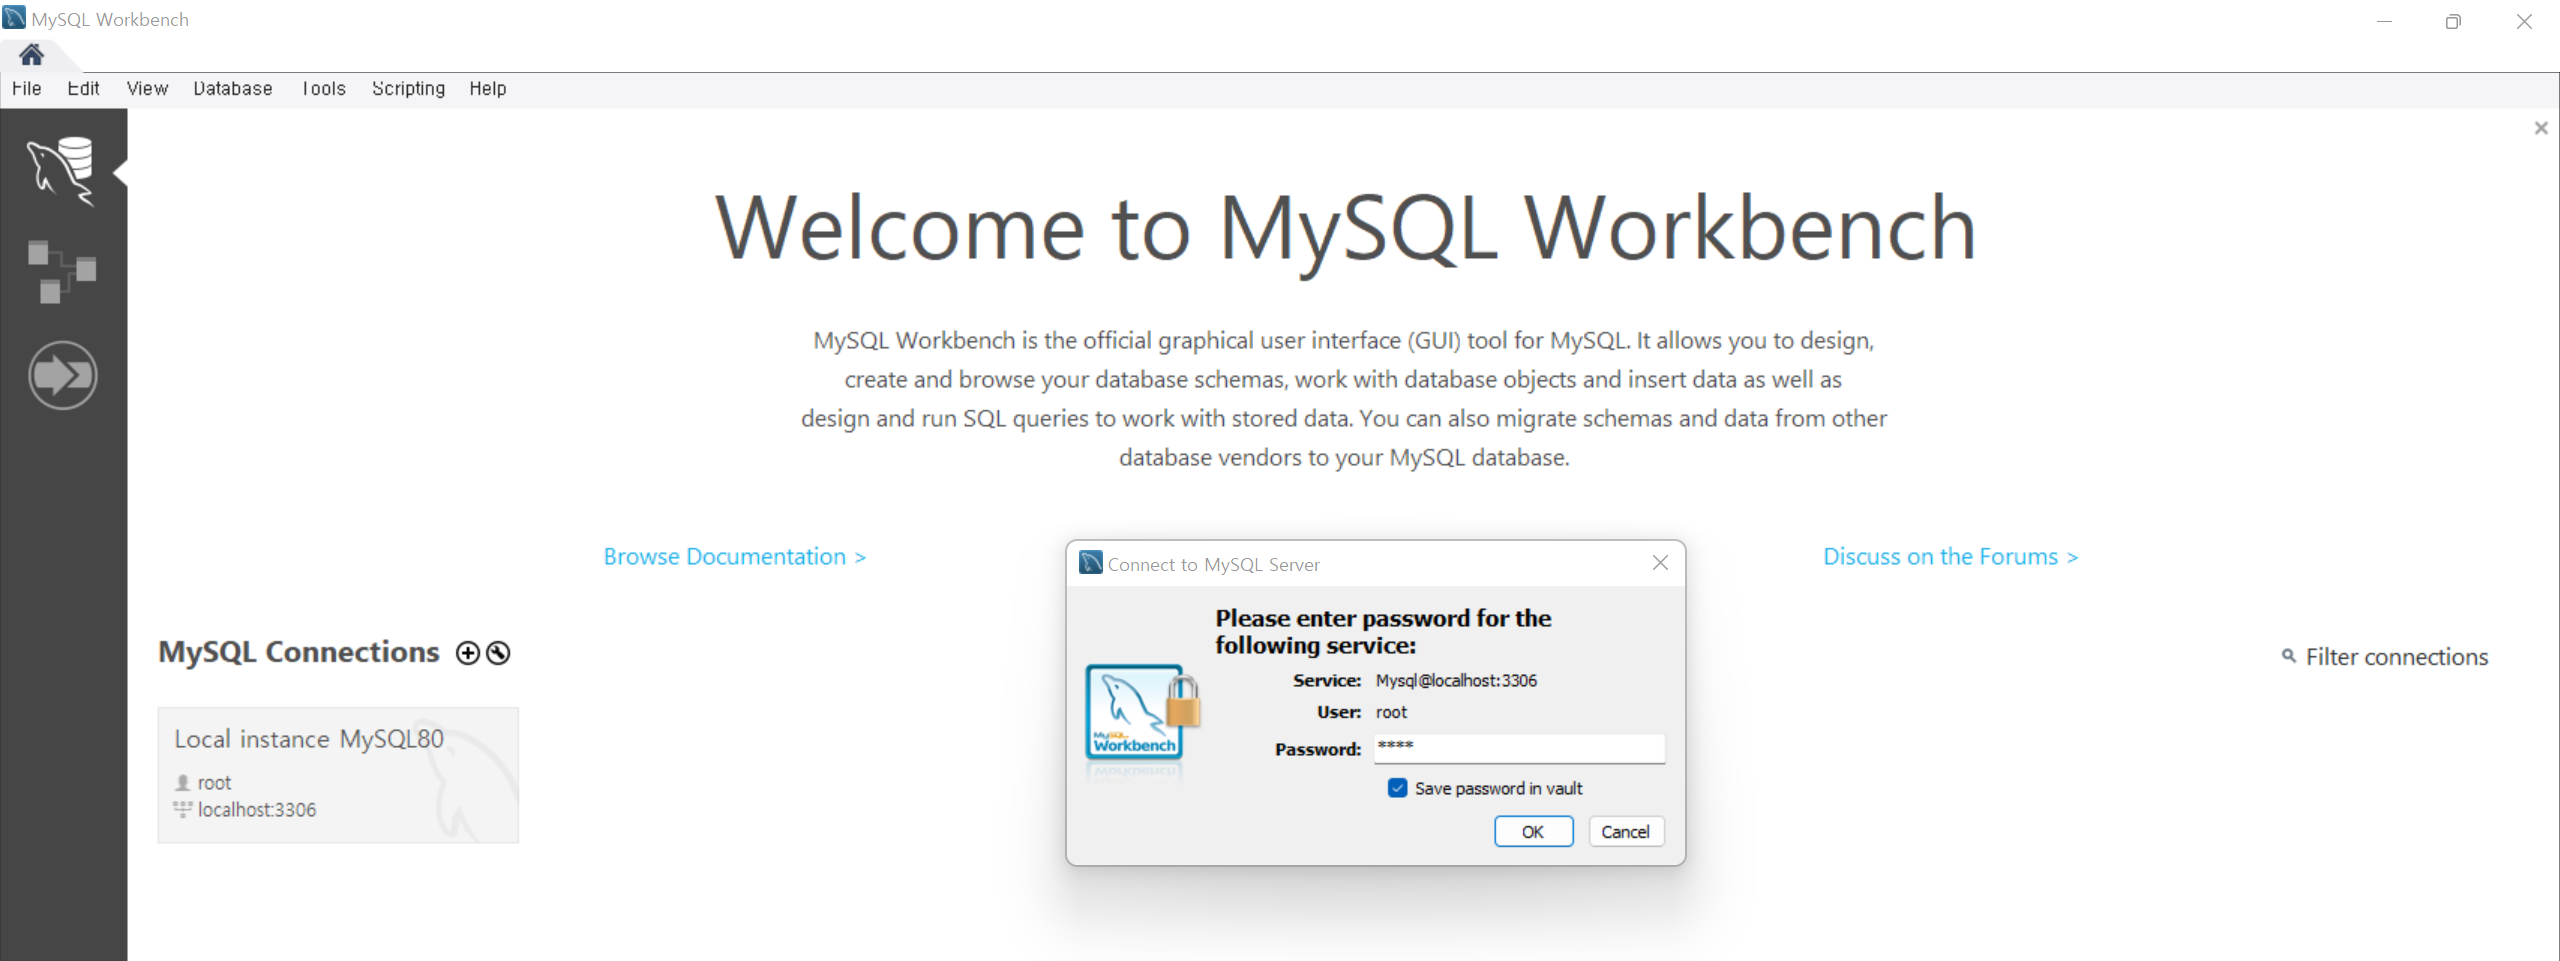
설치시 작성했던 비밀번호를 입력하며, 하단의 [Save password in vault]를 클릭해 비밀번호를 저장한다.
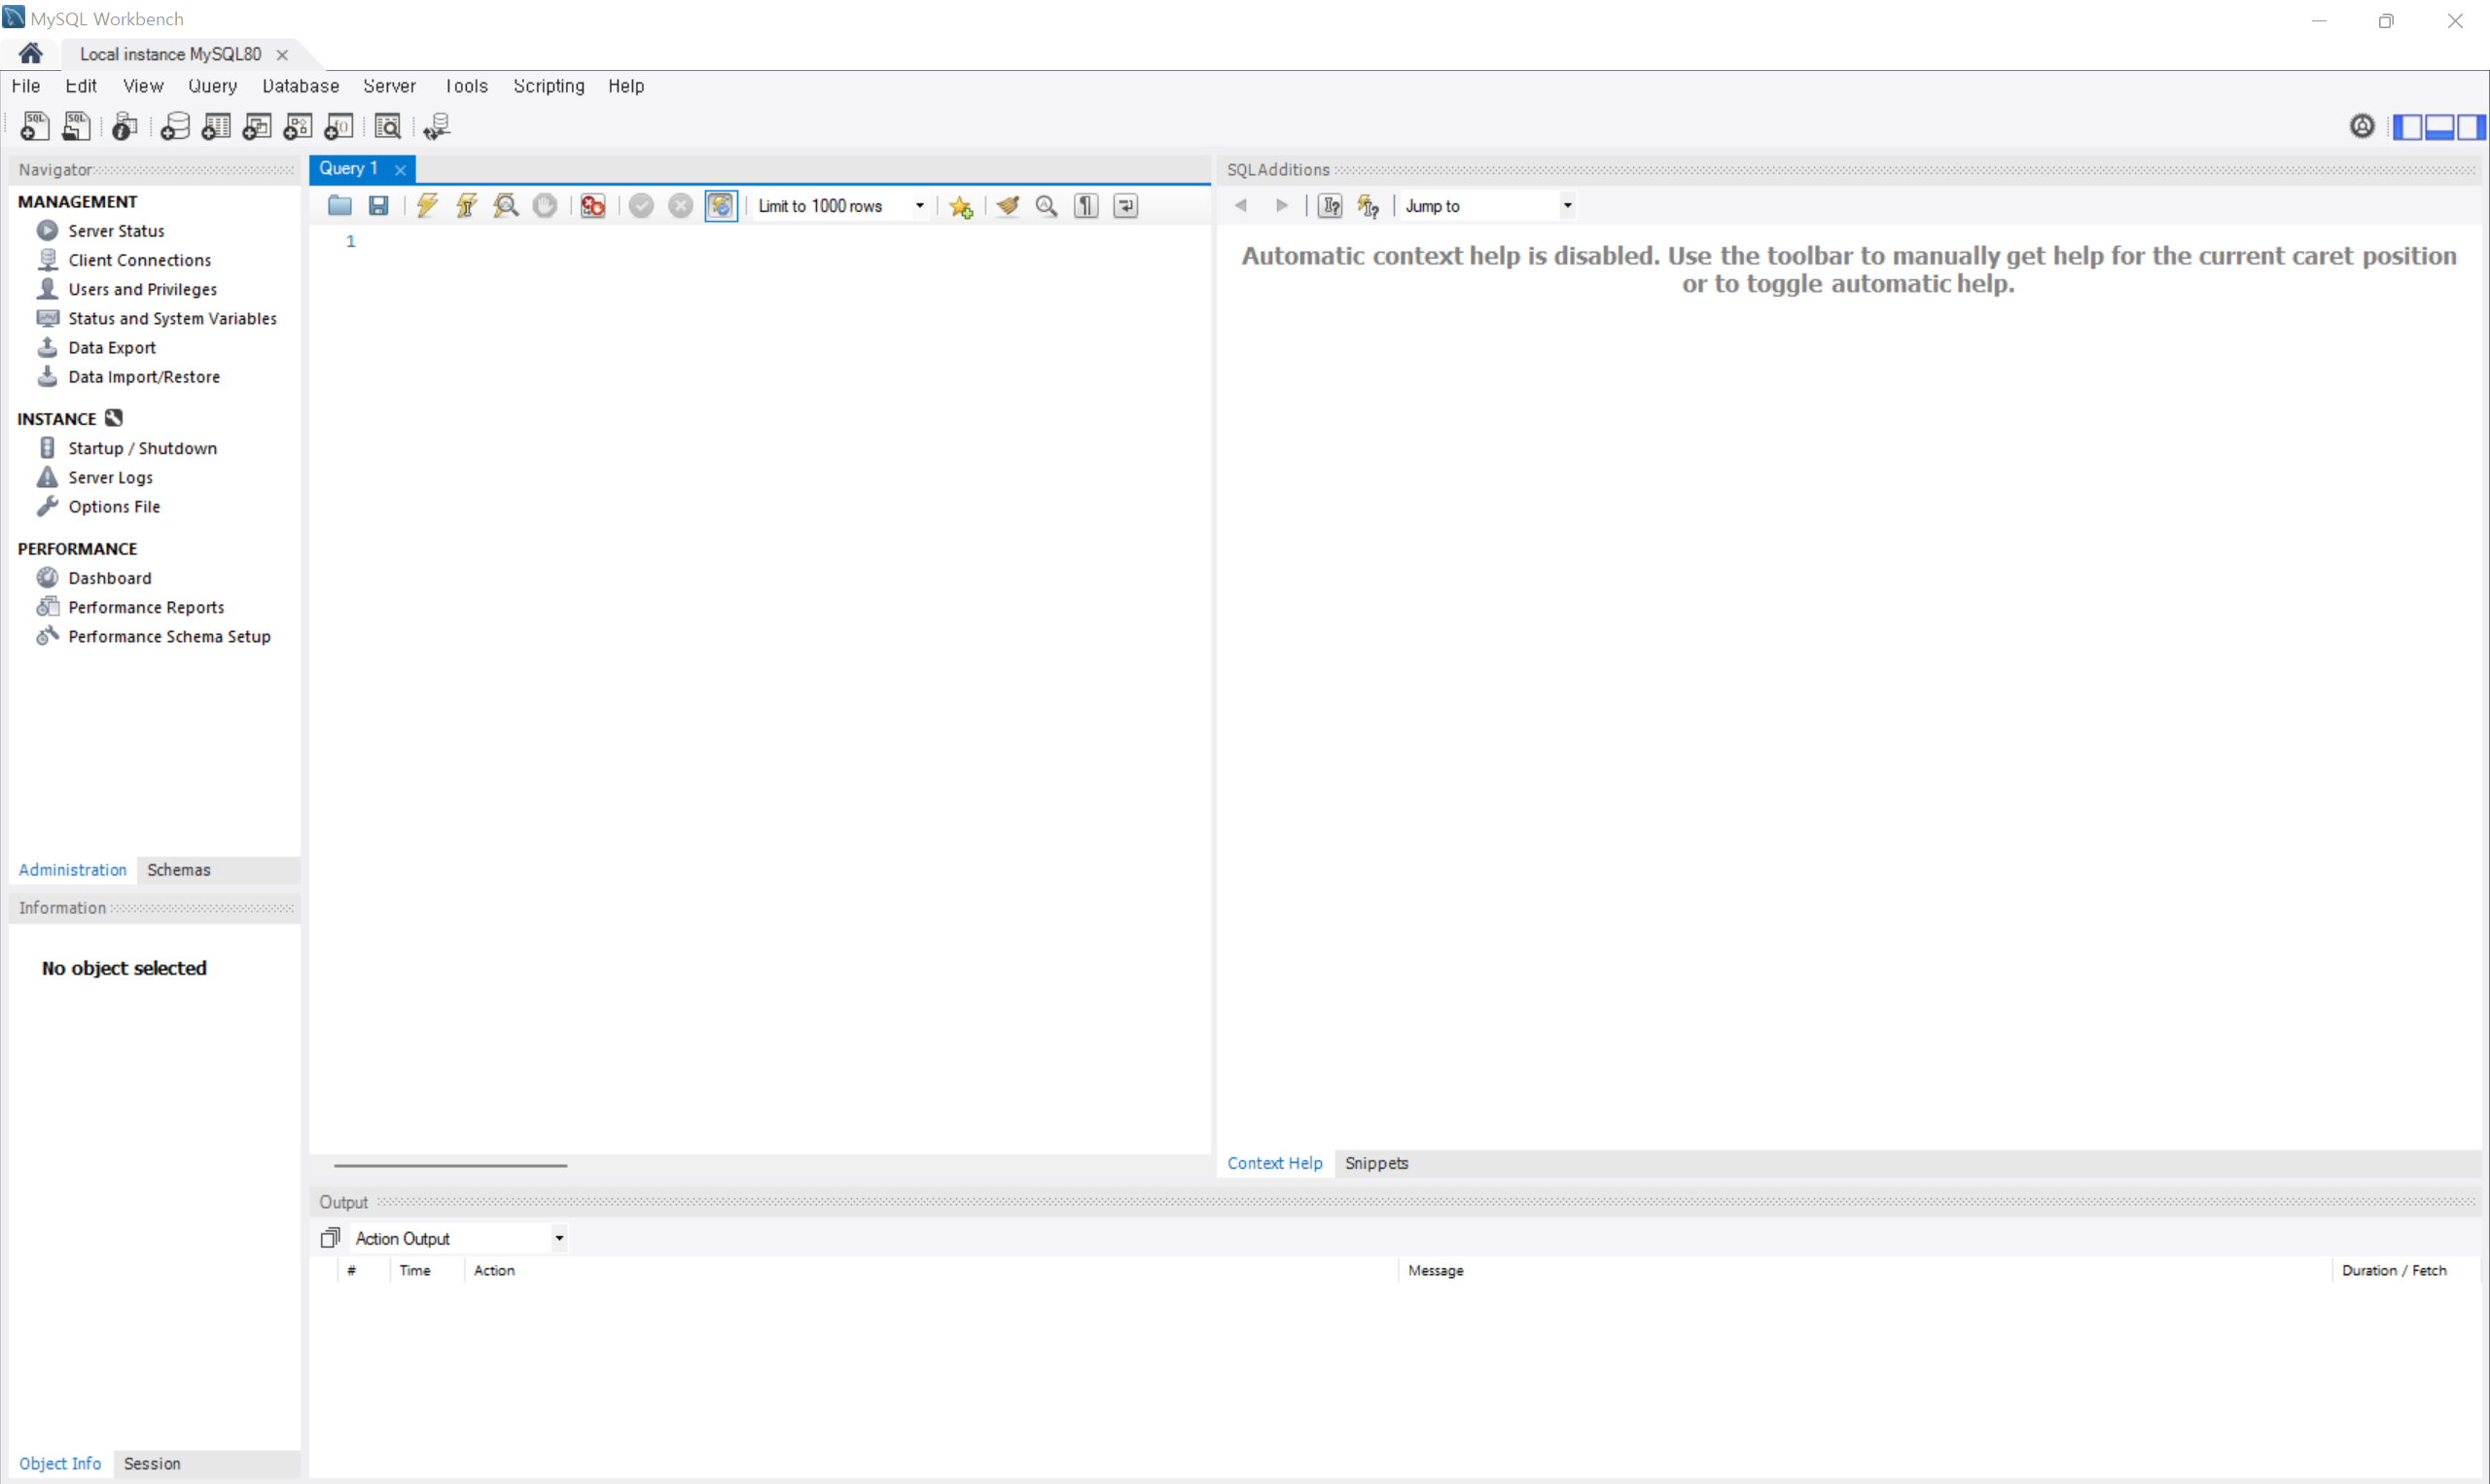
이제 MySQL Workbench를 사용할 수 있으며, [Query 1]으로 표시된 부분에 쿼리를 작성하면 된다.